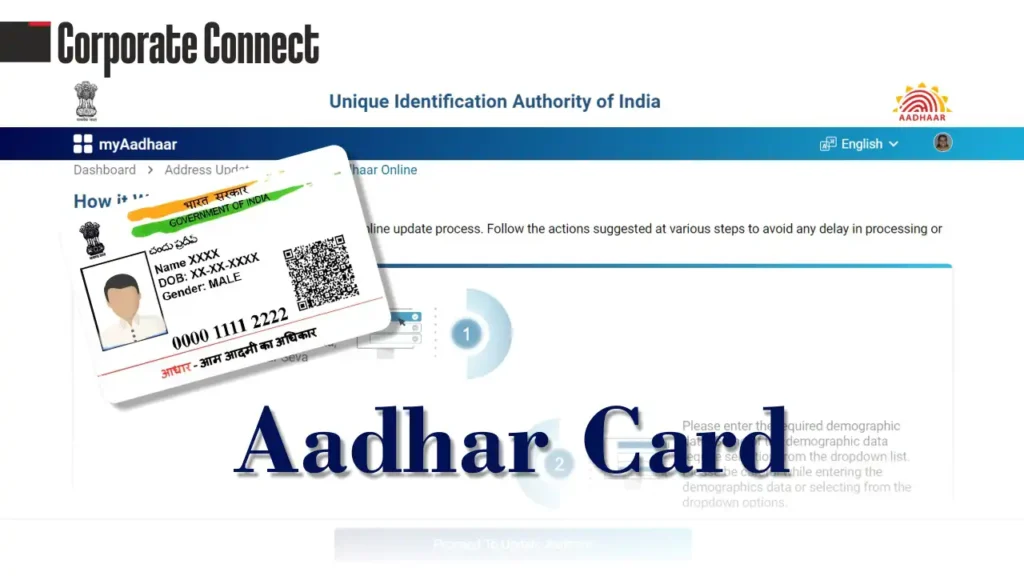
Aadhaar is an essential identification document that is linked to various government services and schemes. One of the key features of Aadhaar is that it can be updated online, making it convenient for residents to change their address without visiting an Aadhaar center. In this blog, we will guide you through the step-by-step process of changing the address in your Aadhaar card.
How to Change Address in Aadhaar Card: Step-by-Step Guide
Why Change Your Address in Aadhaar?
Changing your address in Aadhaar may be required due to various reasons:
- Relocation: Moving to a new residence.
- Address Correction: If there was an error in the address provided during Aadhaar registration.
- Updating Contact Information: Ensuring your Aadhaar reflects your current living address.
A correct address ensures that your Aadhaar remains valid and helps you in availing of services linked to your address, such as bank account updates, subsidies, and government programs.
How to Change Address in Aadhaar Card: Step-by-Step Guide
Option 1: Update Address Online (Self-Update Portal)
If you want to change your address online, the UIDAI Self-Update Portal makes the process easy and straightforward. Follow these steps:
Step 1: Visit the UIDAI Self-Update Portal
- Go to the official UIDAI website: https://uidai.gov.in.
- Navigate to the ‘Update Aadhaar’ section and click on ‘Update Address in Aadhaar’.
Step 2: Log In Using Aadhaar Details
- You’ll be redirected to the Self-Update Portal. Here, enter your 12-digit Aadhaar number and captcha code.
- Click on ‘Send OTP’ to receive a One-Time Password on your registered mobile number.
Step 3: Enter the OTP
- After receiving the OTP on your registered mobile number, enter it into the required field and click ‘Submit’.
Step 4: Update Your Address
- You will be directed to the address update page where you can make the necessary changes.
- Enter your new address details accurately in the form.
Step 5: Upload Proof of Address (PoA)
- You will need to upload a scanned copy of your proof of address (e.g., utility bill, passport, bank statement, etc.).
- The document should be clear and legible.
Step 6: Review and Submit
- Double-check the new address and the document uploaded. Once everything looks good, click ‘Submit’.
- A URN (Update Request Number) will be generated for your request. You can use this URN to track the status of your request.
Step 7: Wait for Approval
- Your request will be processed by UIDAI. If everything is in order, your address will be updated, and an updated Aadhaar will be sent to your new address.
Option 2: Change Address Offline (Aadhaar Enrollment Center)
If you are unable to change your address online, you can visit the nearest Aadhaar Enrollment Center for assistance. Here’s how:
Step 1: Locate the Nearest Aadhaar Enrollment Center
- Visit the UIDAI website and search for the nearest Aadhaar Enrollment Center using the center locator tool.
Step 2: Visit the Enrollment Center
- Go to the Aadhaar Enrollment Center with your Aadhaar card and the proof of address document.
- The center will help you fill out the form to update your address.
Step 3: Provide Documents and Fingerprints
- Submit the required proof of address document (original and a photocopy) and verify your biometrics (fingerprints and iris scan).
- Once the center processes your request, they will provide an acknowledgment receipt with a URN for tracking the status.
Step 4: Receive Updated Aadhaar
- Your request will be processed, and once approved, your updated Aadhaar card with the new address will be mailed to your registered address.
Documents Accepted as Proof of Address
When updating your address in Aadhaar, you’ll need to provide one of the following documents as proof of address:
- Passport
- Voter ID
- Utility bills (electricity, water, or gas bill)
- Bank statement or passbook
- Rent agreement
- Ration card
- Post office passbook
- Aadhar-linked bank statement
Make sure the document is valid, and the details are clearly visible for successful processing.
Tracking Your Update Request
You can track the status of your address update request by visiting the UIDAI website. Using the URN received during the update process, follow these steps:
- Go to the ‘Check Aadhaar Update Status’ option on the UIDAI website.
- Enter the URN and the security code.
- Click ‘Check Status’ to see if your request has been approved.
Important Tips
- Ensure that the document you upload is clear and legible. A blurry image can delay the process.
- The address update may take up to 30 days, so it’s important to be patient.
- If you don’t have access to your registered mobile number, you may need to update your mobile number first before proceeding with the address change.
Conclusion
Updating your address in Aadhaar is a straightforward process, and with both online and offline options available, you can easily ensure that your Aadhaar card reflects your current address. Follow the steps mentioned above to update your address smoothly and stay connected to the benefits and services that require your Aadhaar information.
Must Read:
- Top 10 Best Indian Authors in 2024-25
- How to Change Address in Aadhar Card: Step-by-Step Guide
- How to update your mobile number in your Aadhaar card : easy step-by-step guide
- Key Differences Between Accounting and Auditing in Financial Management
- Top 10 Electric Scooters to Buy in India 2025.
- Top 10 Richest Indian Music Directors
- Top 10 Best Bollywood Singers
- Top 10 Shoe Brands in India


